Adding a Raspberry Pi Carputer to a SEAT Ibiza Mk2 (6K2) Part 1
My car radio isn’t performing adequately anymore, so I decided to replace it with a custom built Raspberry Pi Carputer with RTL-SDR
Items and Tools
- Raspberry Pi 3 B+
- 64GB Micro SD Card
- 5” touchscreen for the RPi (A 7” capacitive screen is highly recommended)
- 5V 2A USB charger
- Micro-USB cable
- USB keyboard and mouse
- RTL-SDR USB dongle
- Antenna
Preparing the Raspberry Pi
Before we begin we need to install an OS to the RPi and configure the screen. For the OS we are going to use the official Raspbian GNU/Linux distro.
Raspbian installation
- Follow the official installation guide to prepare the Micro SD Card
- Connect the SD Card to the RPi, mount the display and connect it using the HDMI connector that comes with it
- Connect the keyboard and mouse and power it on with the USB charger and the Micro-USB cable
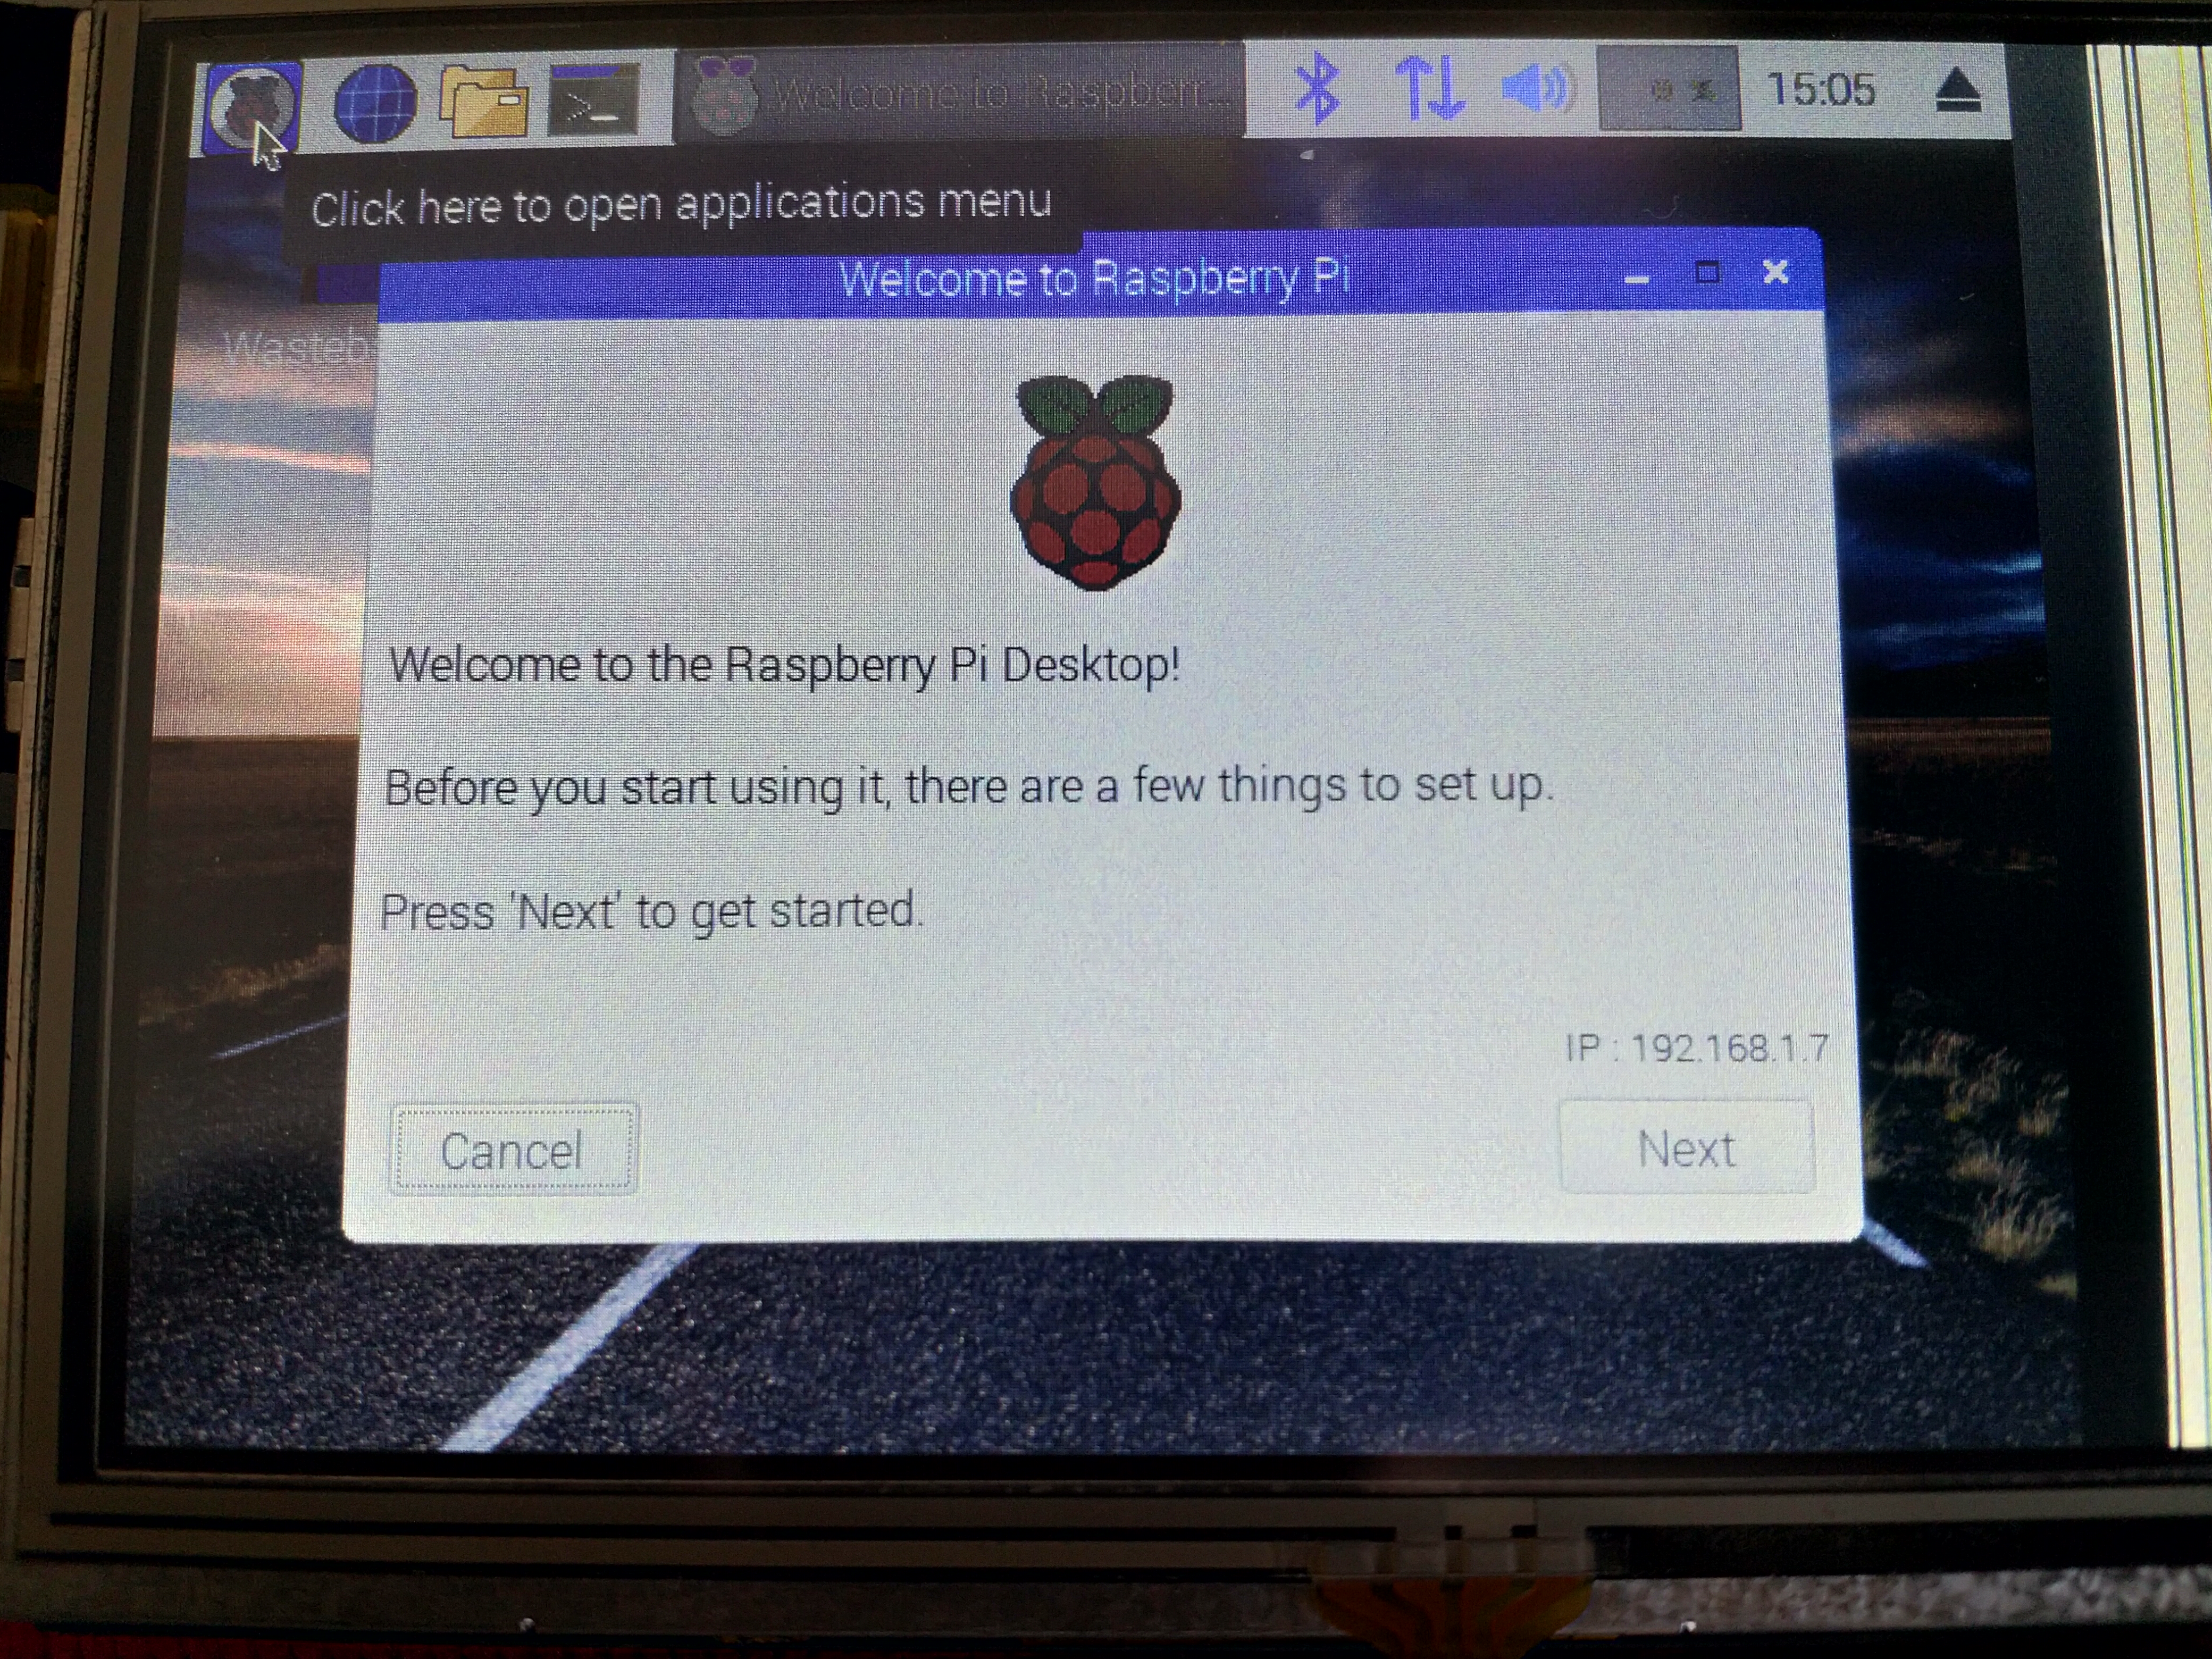
- Complete the OS setup by following the on-screen guide
Touchscreen configuration
- Open a terminal
- Clone the config repository
git clone https://github.com/goodtft/LCD-show.git - Change the working directory
cd LCD-show - Make the script executable
chmod +x LCD5-show - Run the configuration script
./LCD5-show
Now that the touchscreen is working properly, we will install a virtual keyboard, to take full advantage of it. Needing a keyboard to control the RPi in a car isn’t an optimal situation :P
Virtual keyboard installation
- Open a terminal
- Install the matchbox virtual keyboard
sudo apt install matchbox-keyboard - Reboot
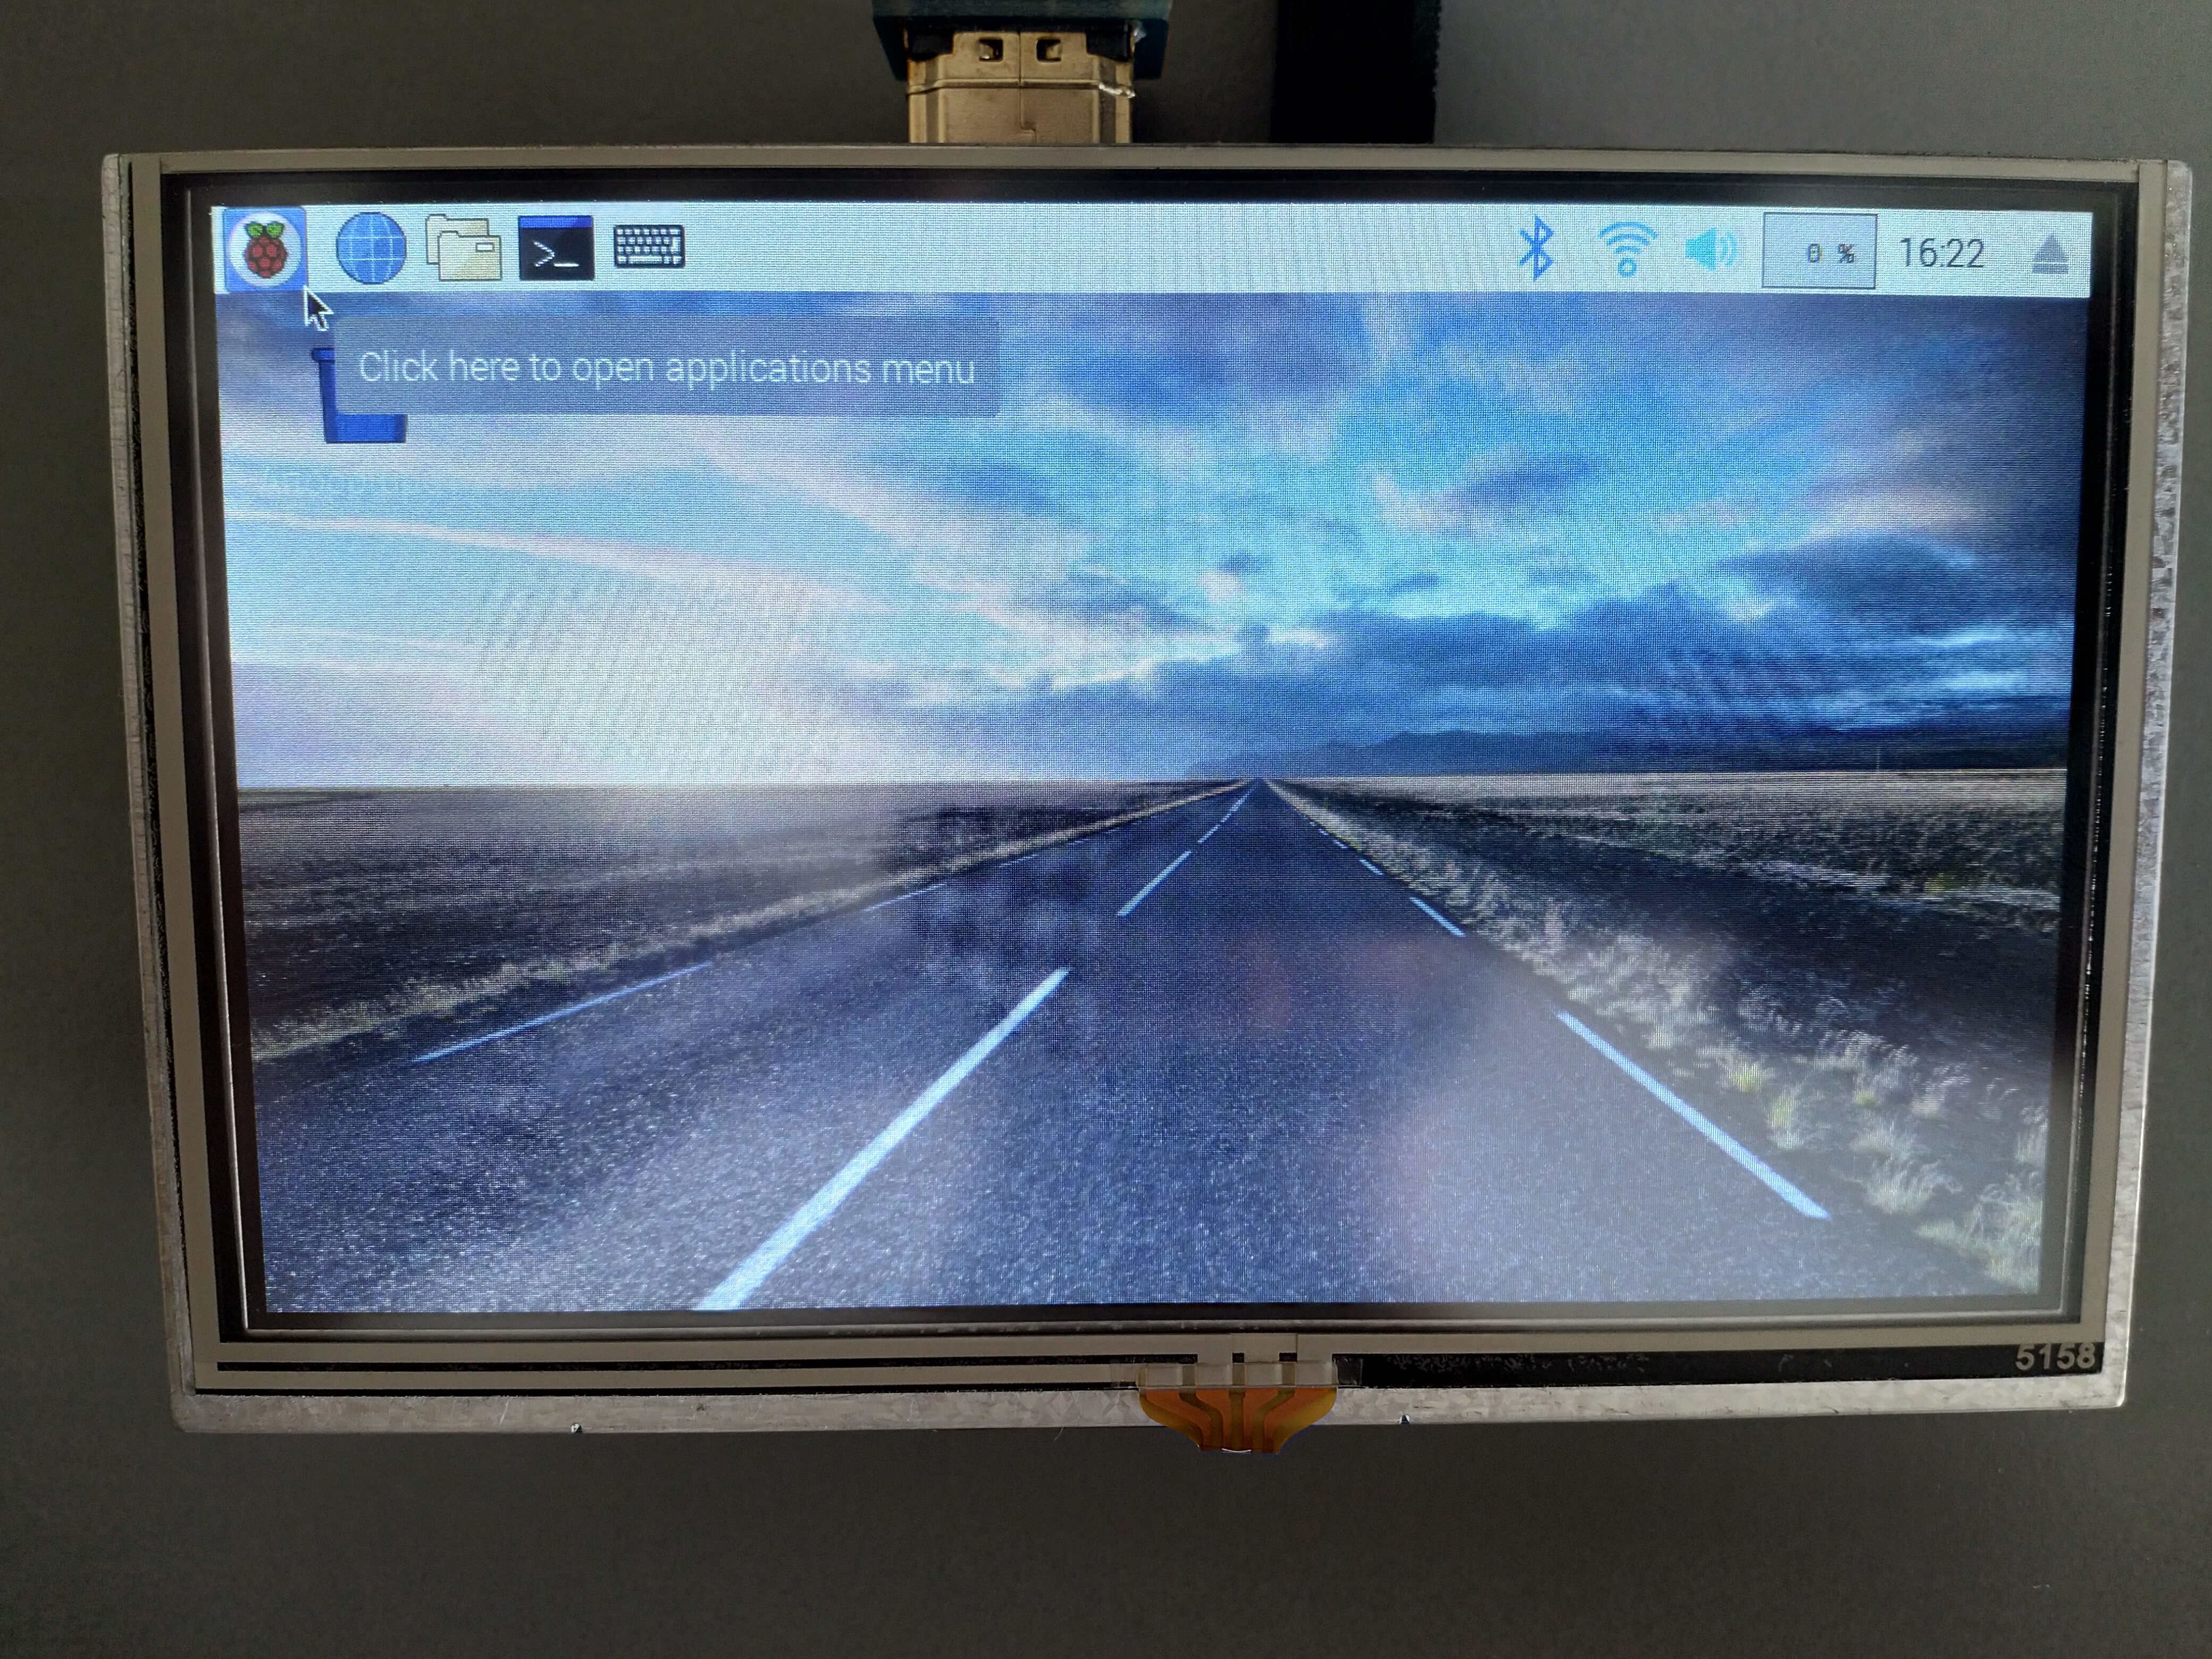
For easier access you can add the keyboard to the application launch bar
Gqrx installation
Unfortunately the gqrx-sdr package in the raspbian repos isn’t working, so we will get the latest release from the project’s GitHub repository
- Open a browser and navigate to https://github.com/csete/gqrx/releases
- Download the latest
-rpi3release - Open a terminal and enter the
Downloadsdirectory
cd Downloads - Unpack the archive and change directory
tar -xJf gqrx-sdr-*-linux-rpi3.tar.xz && cd gqrx-sdr-*-linux-rpi3 - Read the readme file and follow the instructions
cat readme.txt
Testing the RTL-SDR
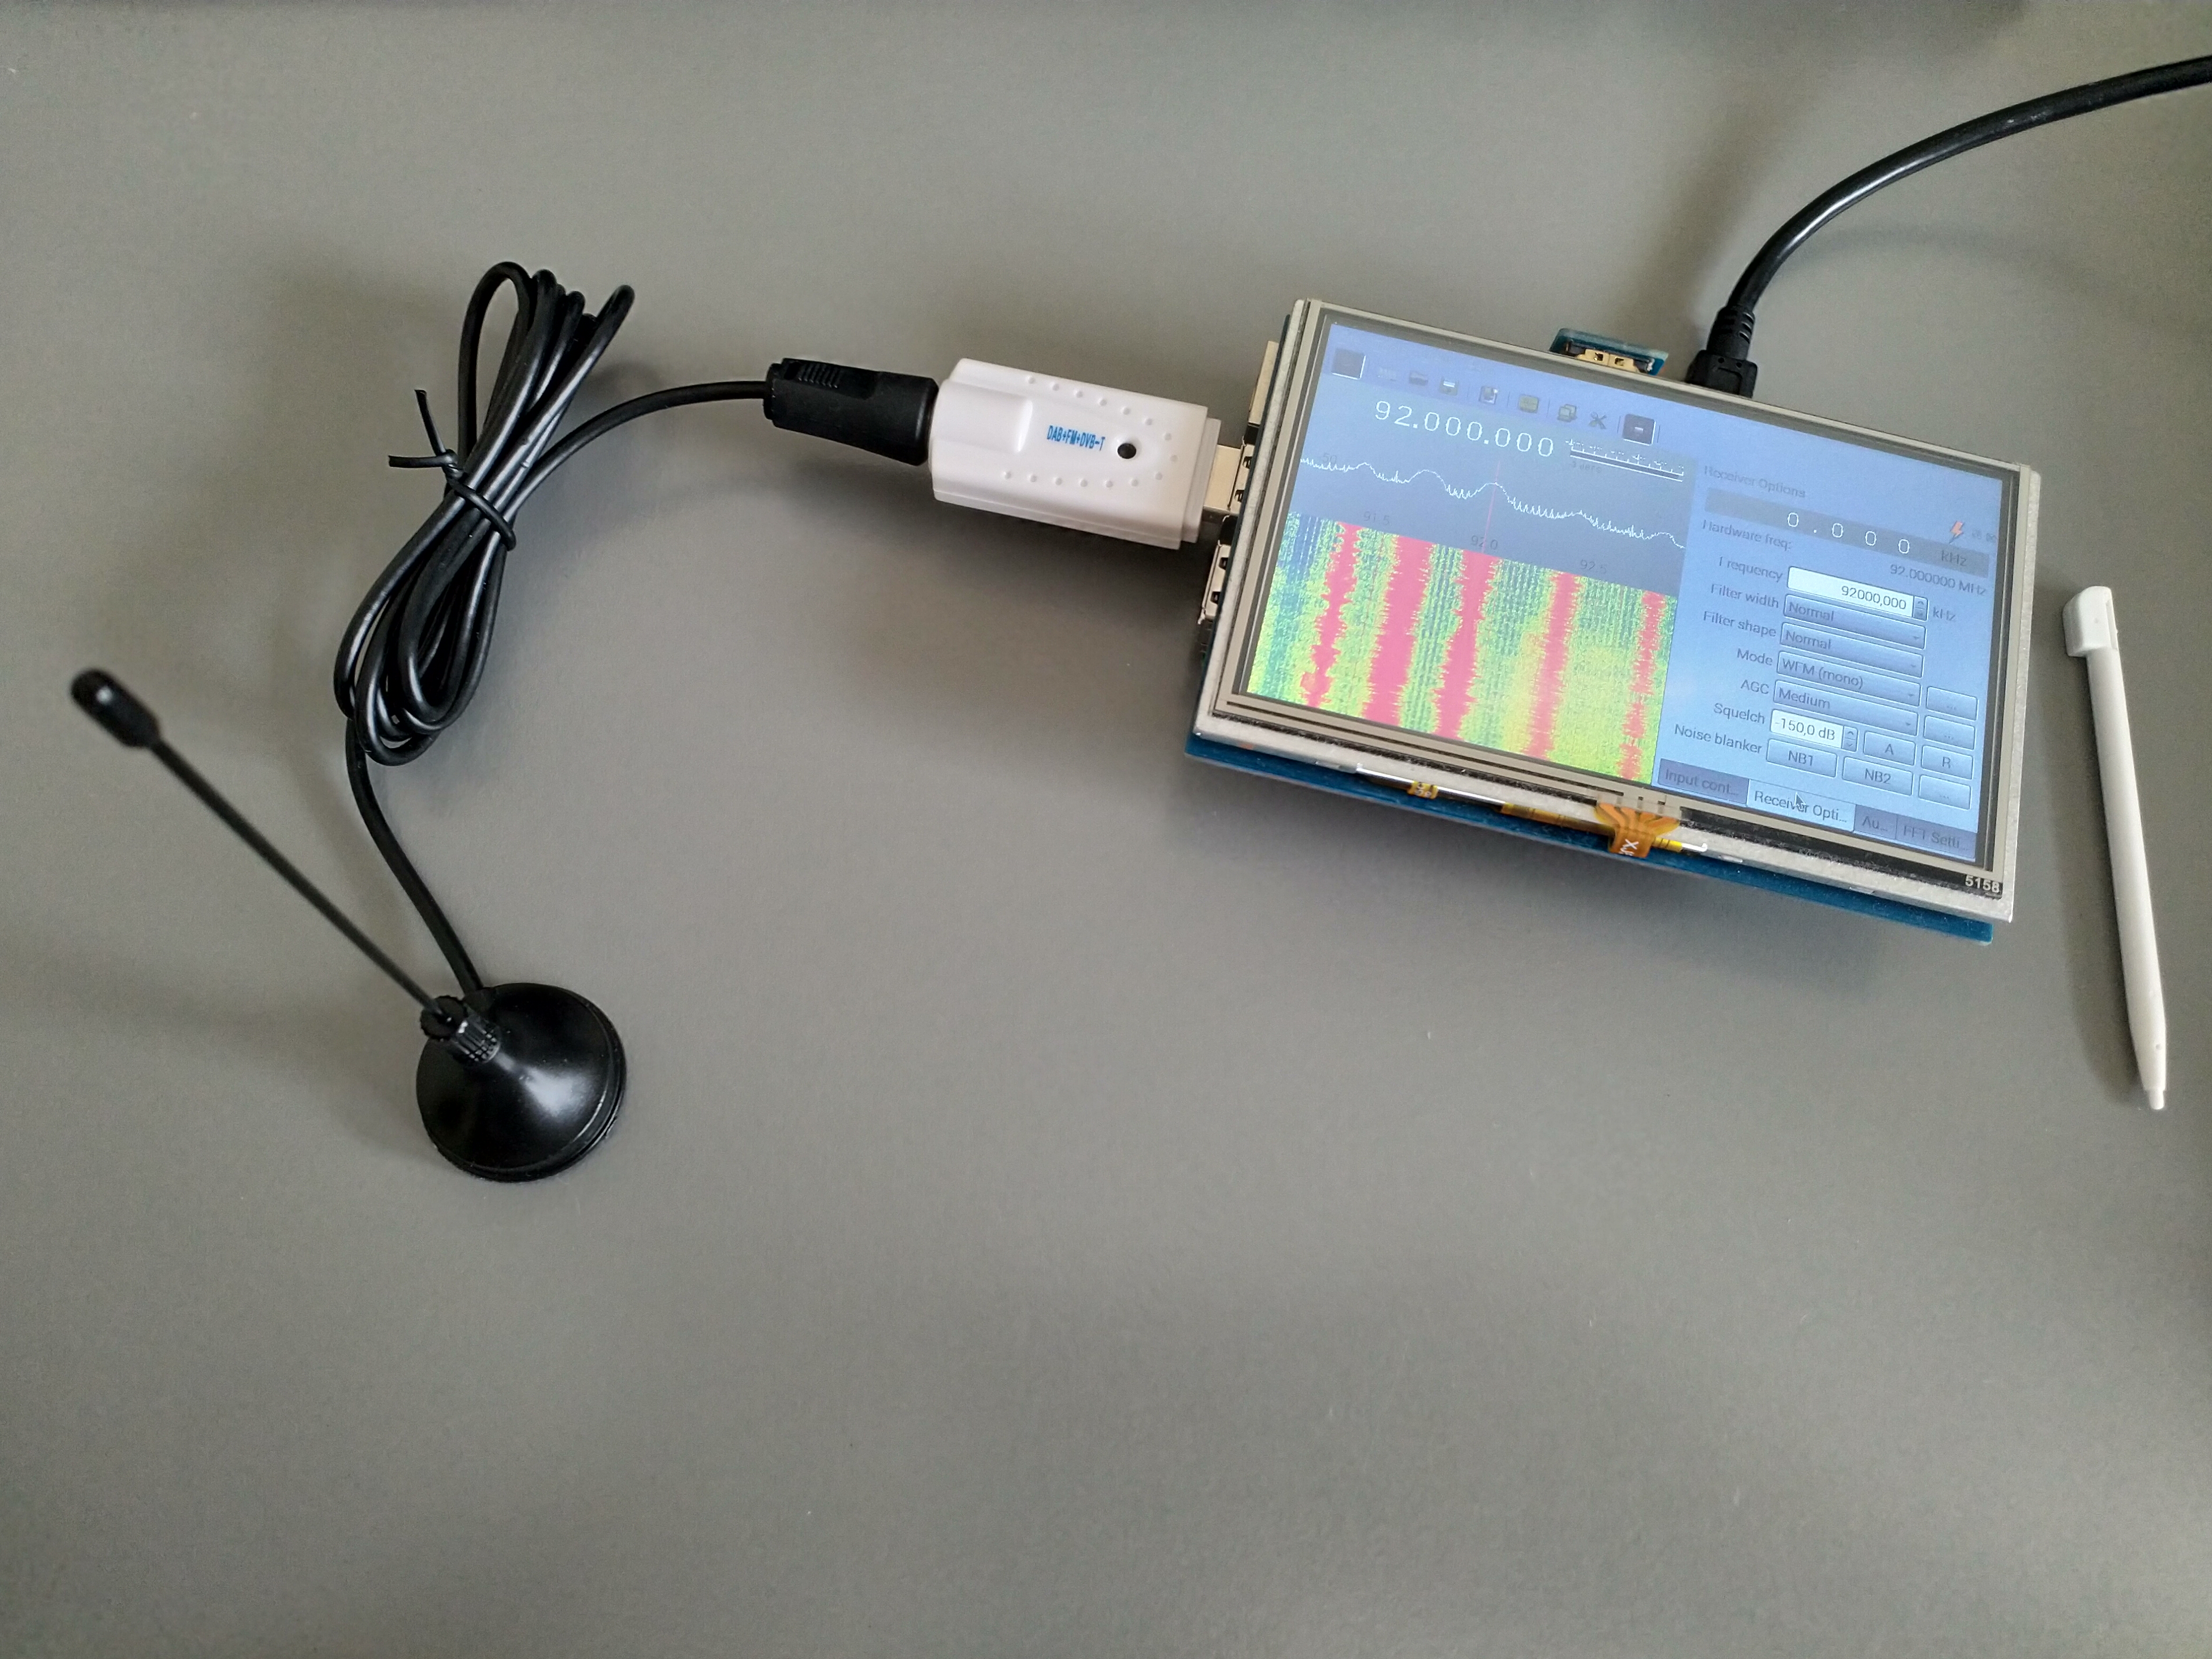
To test our setup we are going to use the antenna that comes with the RTL-SDR dongle.
First, connect the antenna to the dongle and the RPi. Then, start Gqrx and tune it to a local FM station.
If everything is right you should see something like the following
In the next part we will power the raspberry pi from the car and connect it to the car’s antenna and audio system
Update 20/08/2019
I finally got around to buying a 7” screen and did a clean install of Raspbian Buster. The screen almost worked out of the box (I had to manually set the resolution to 1024x768 from Preferences -> Raspberry Pi Configuration) and the “Touchscreen configuration” step wasn’t needed.