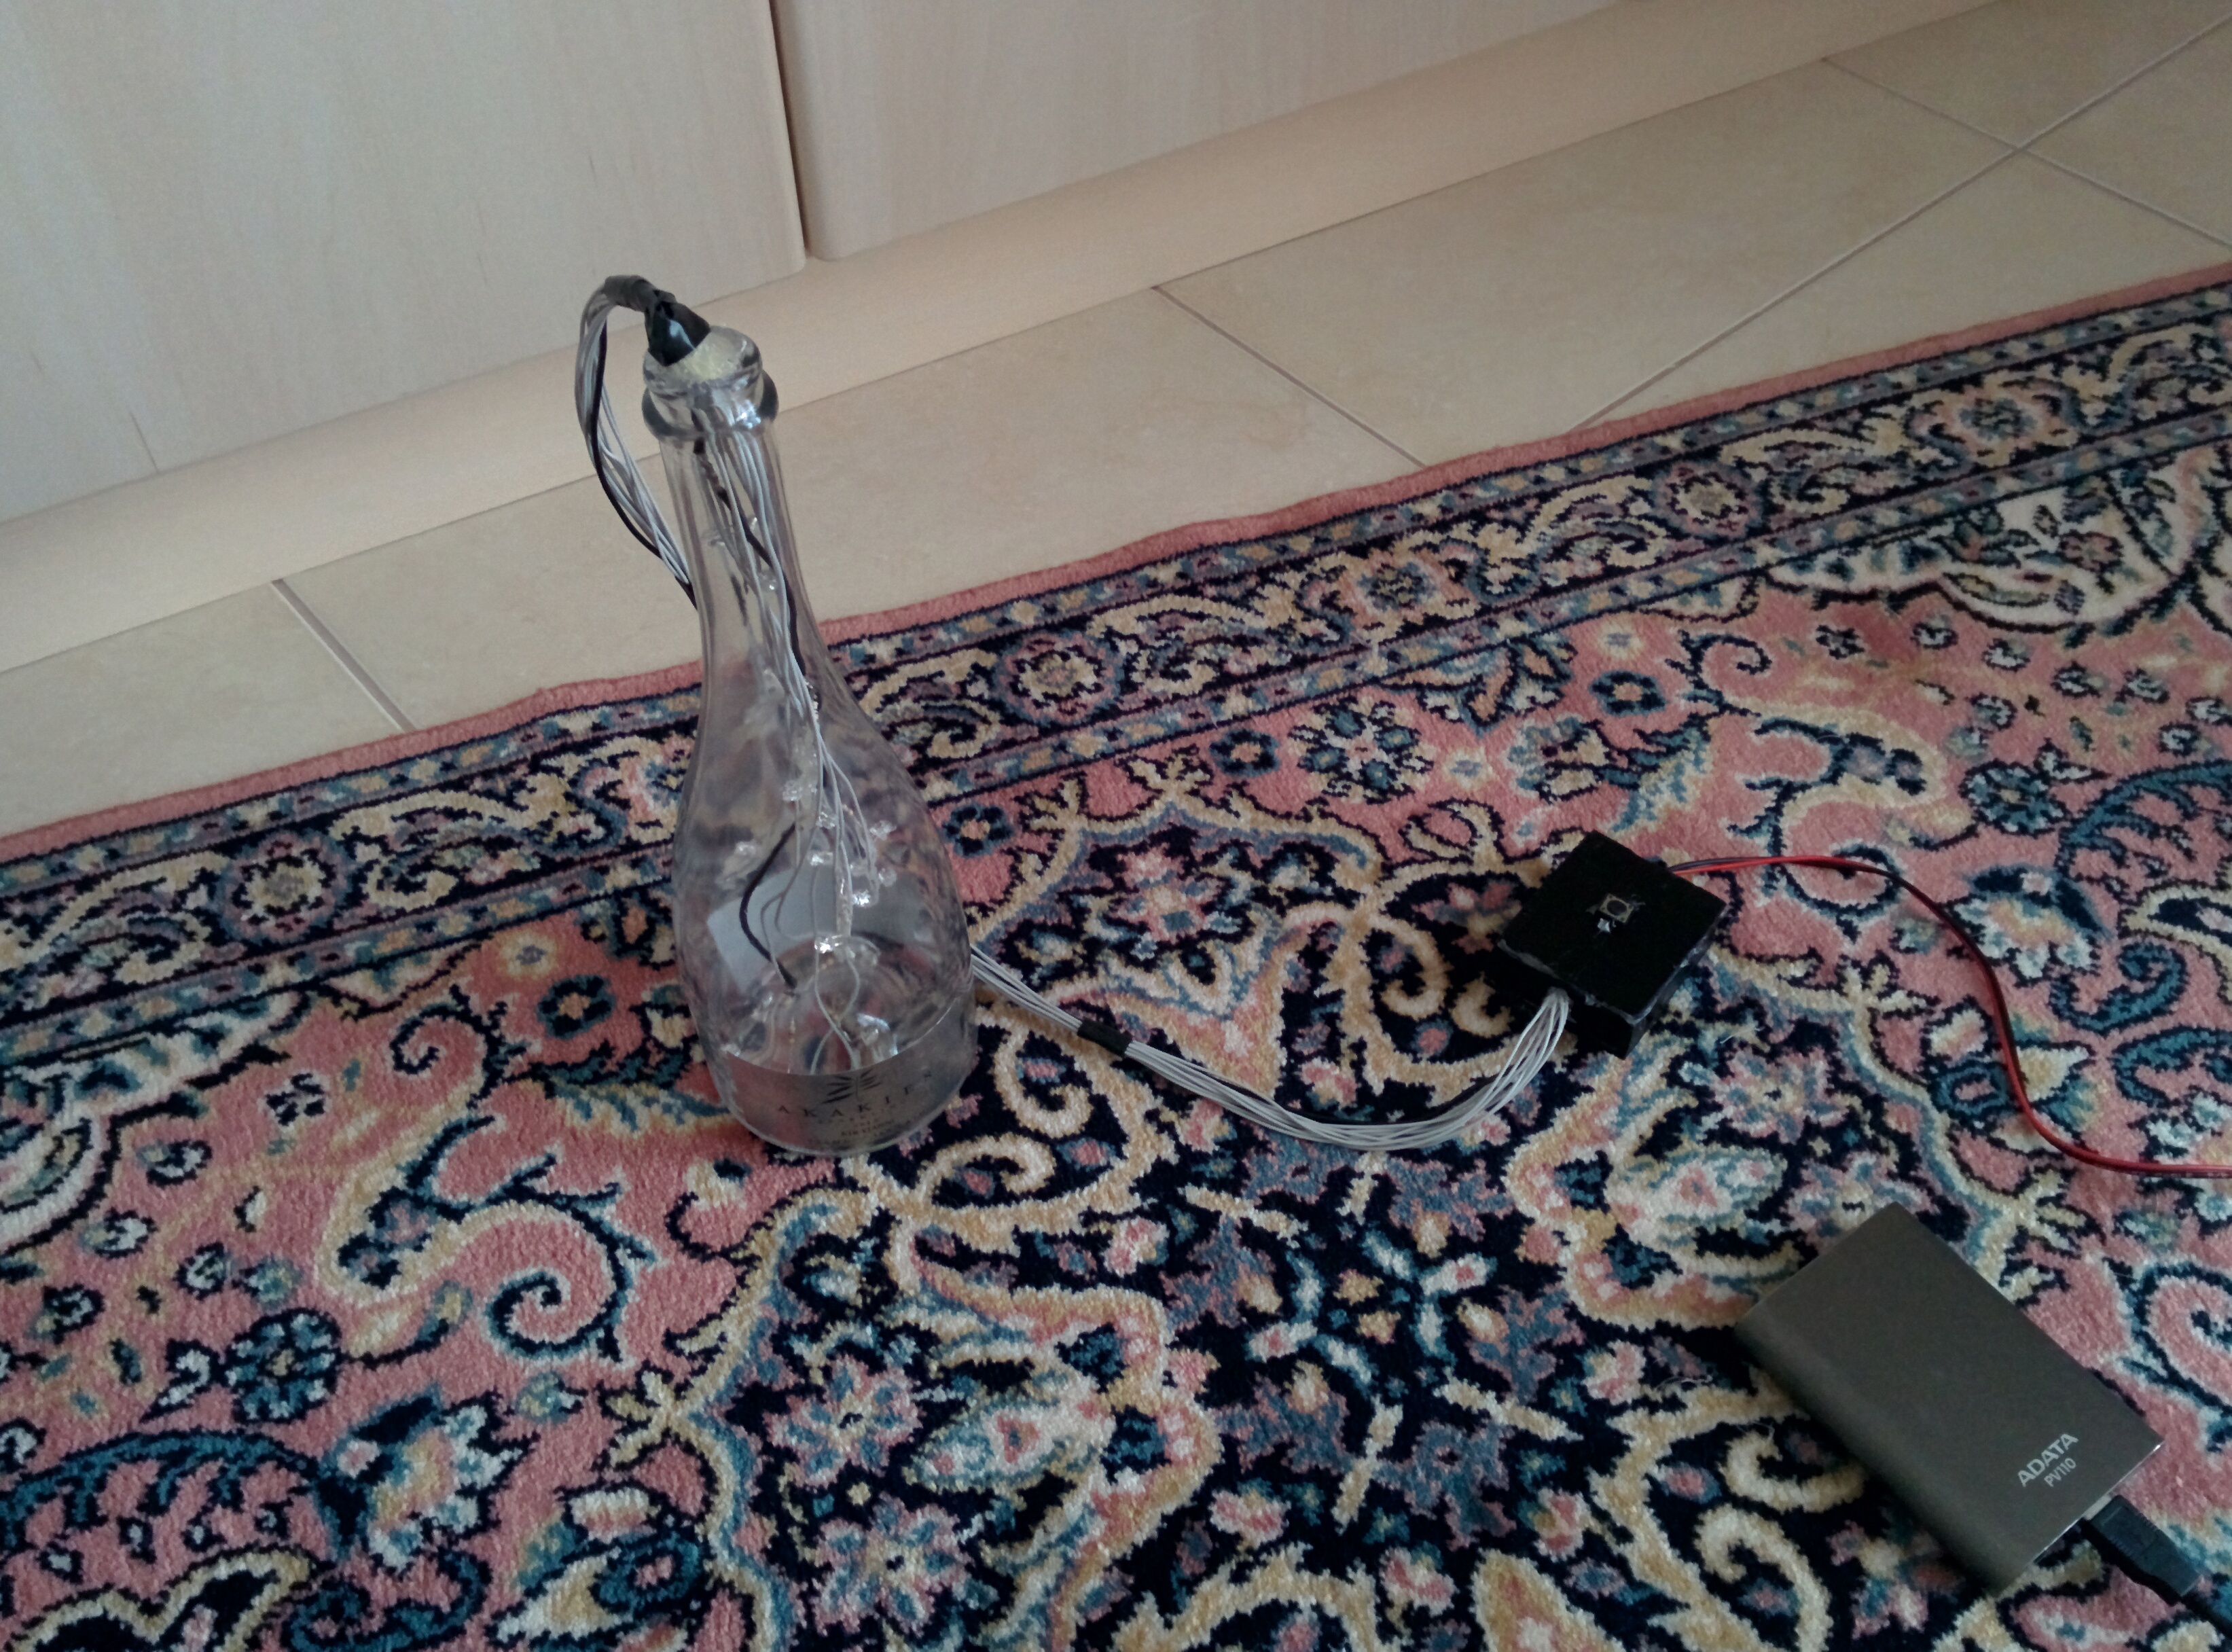
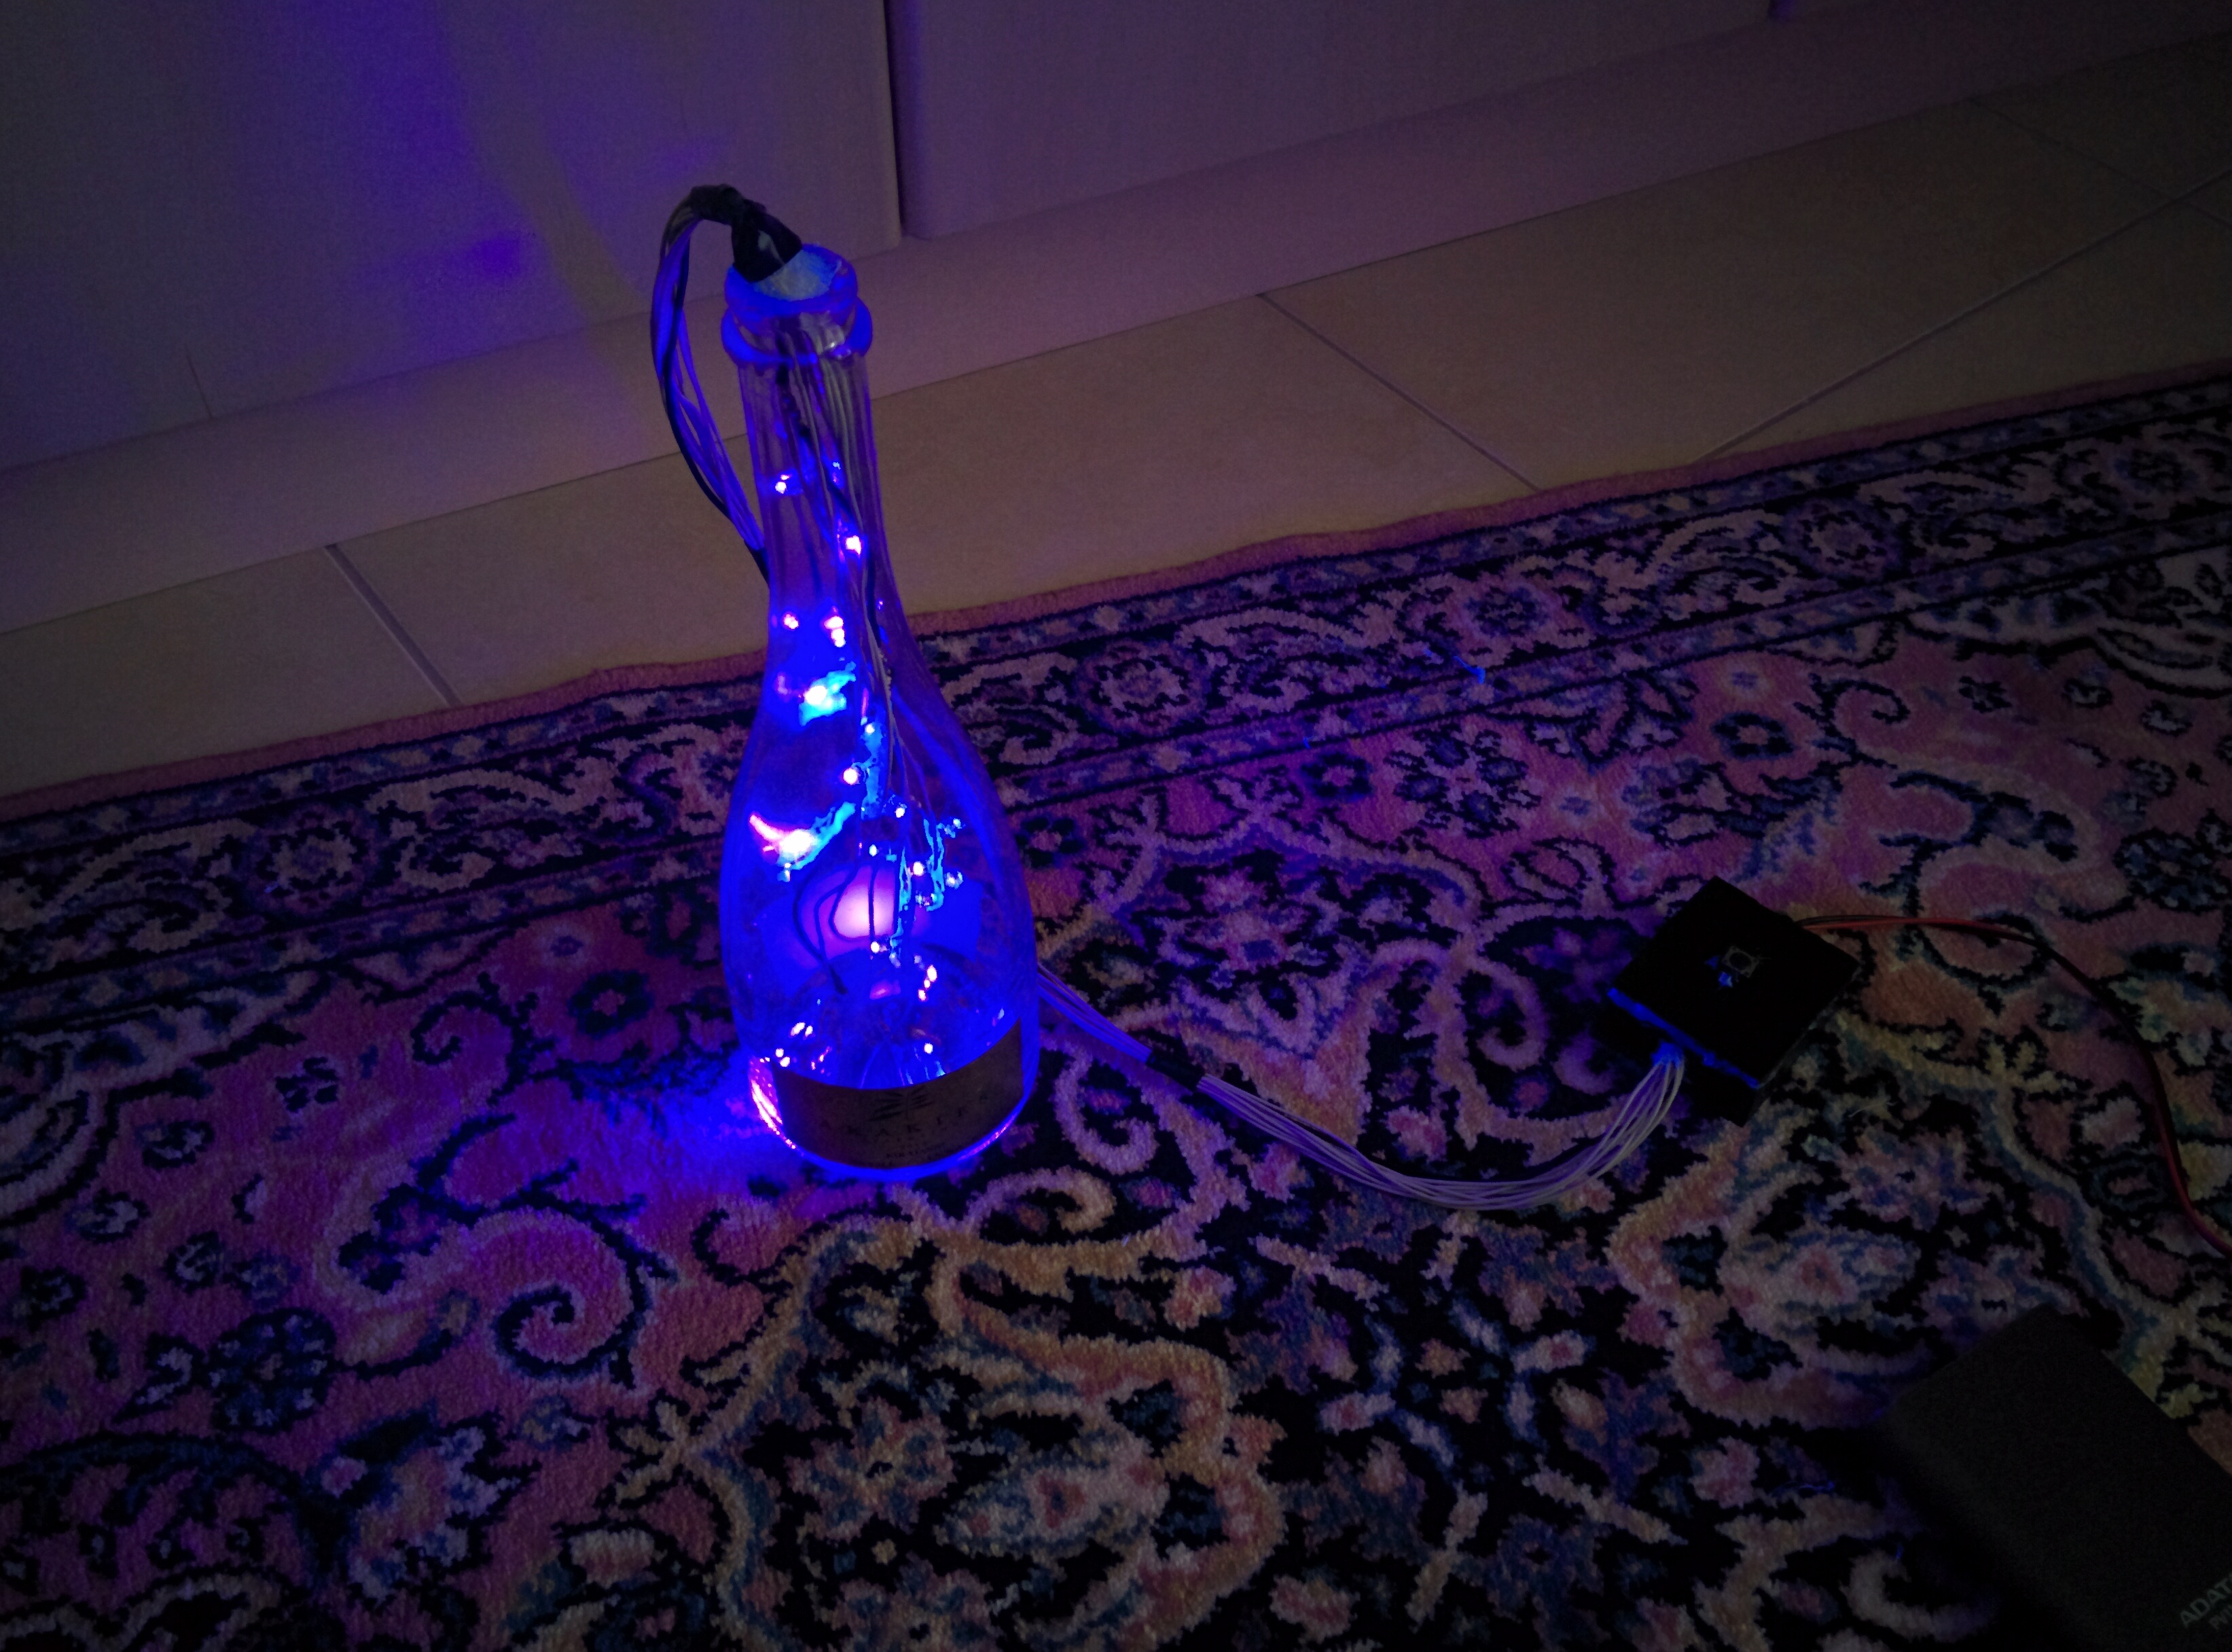
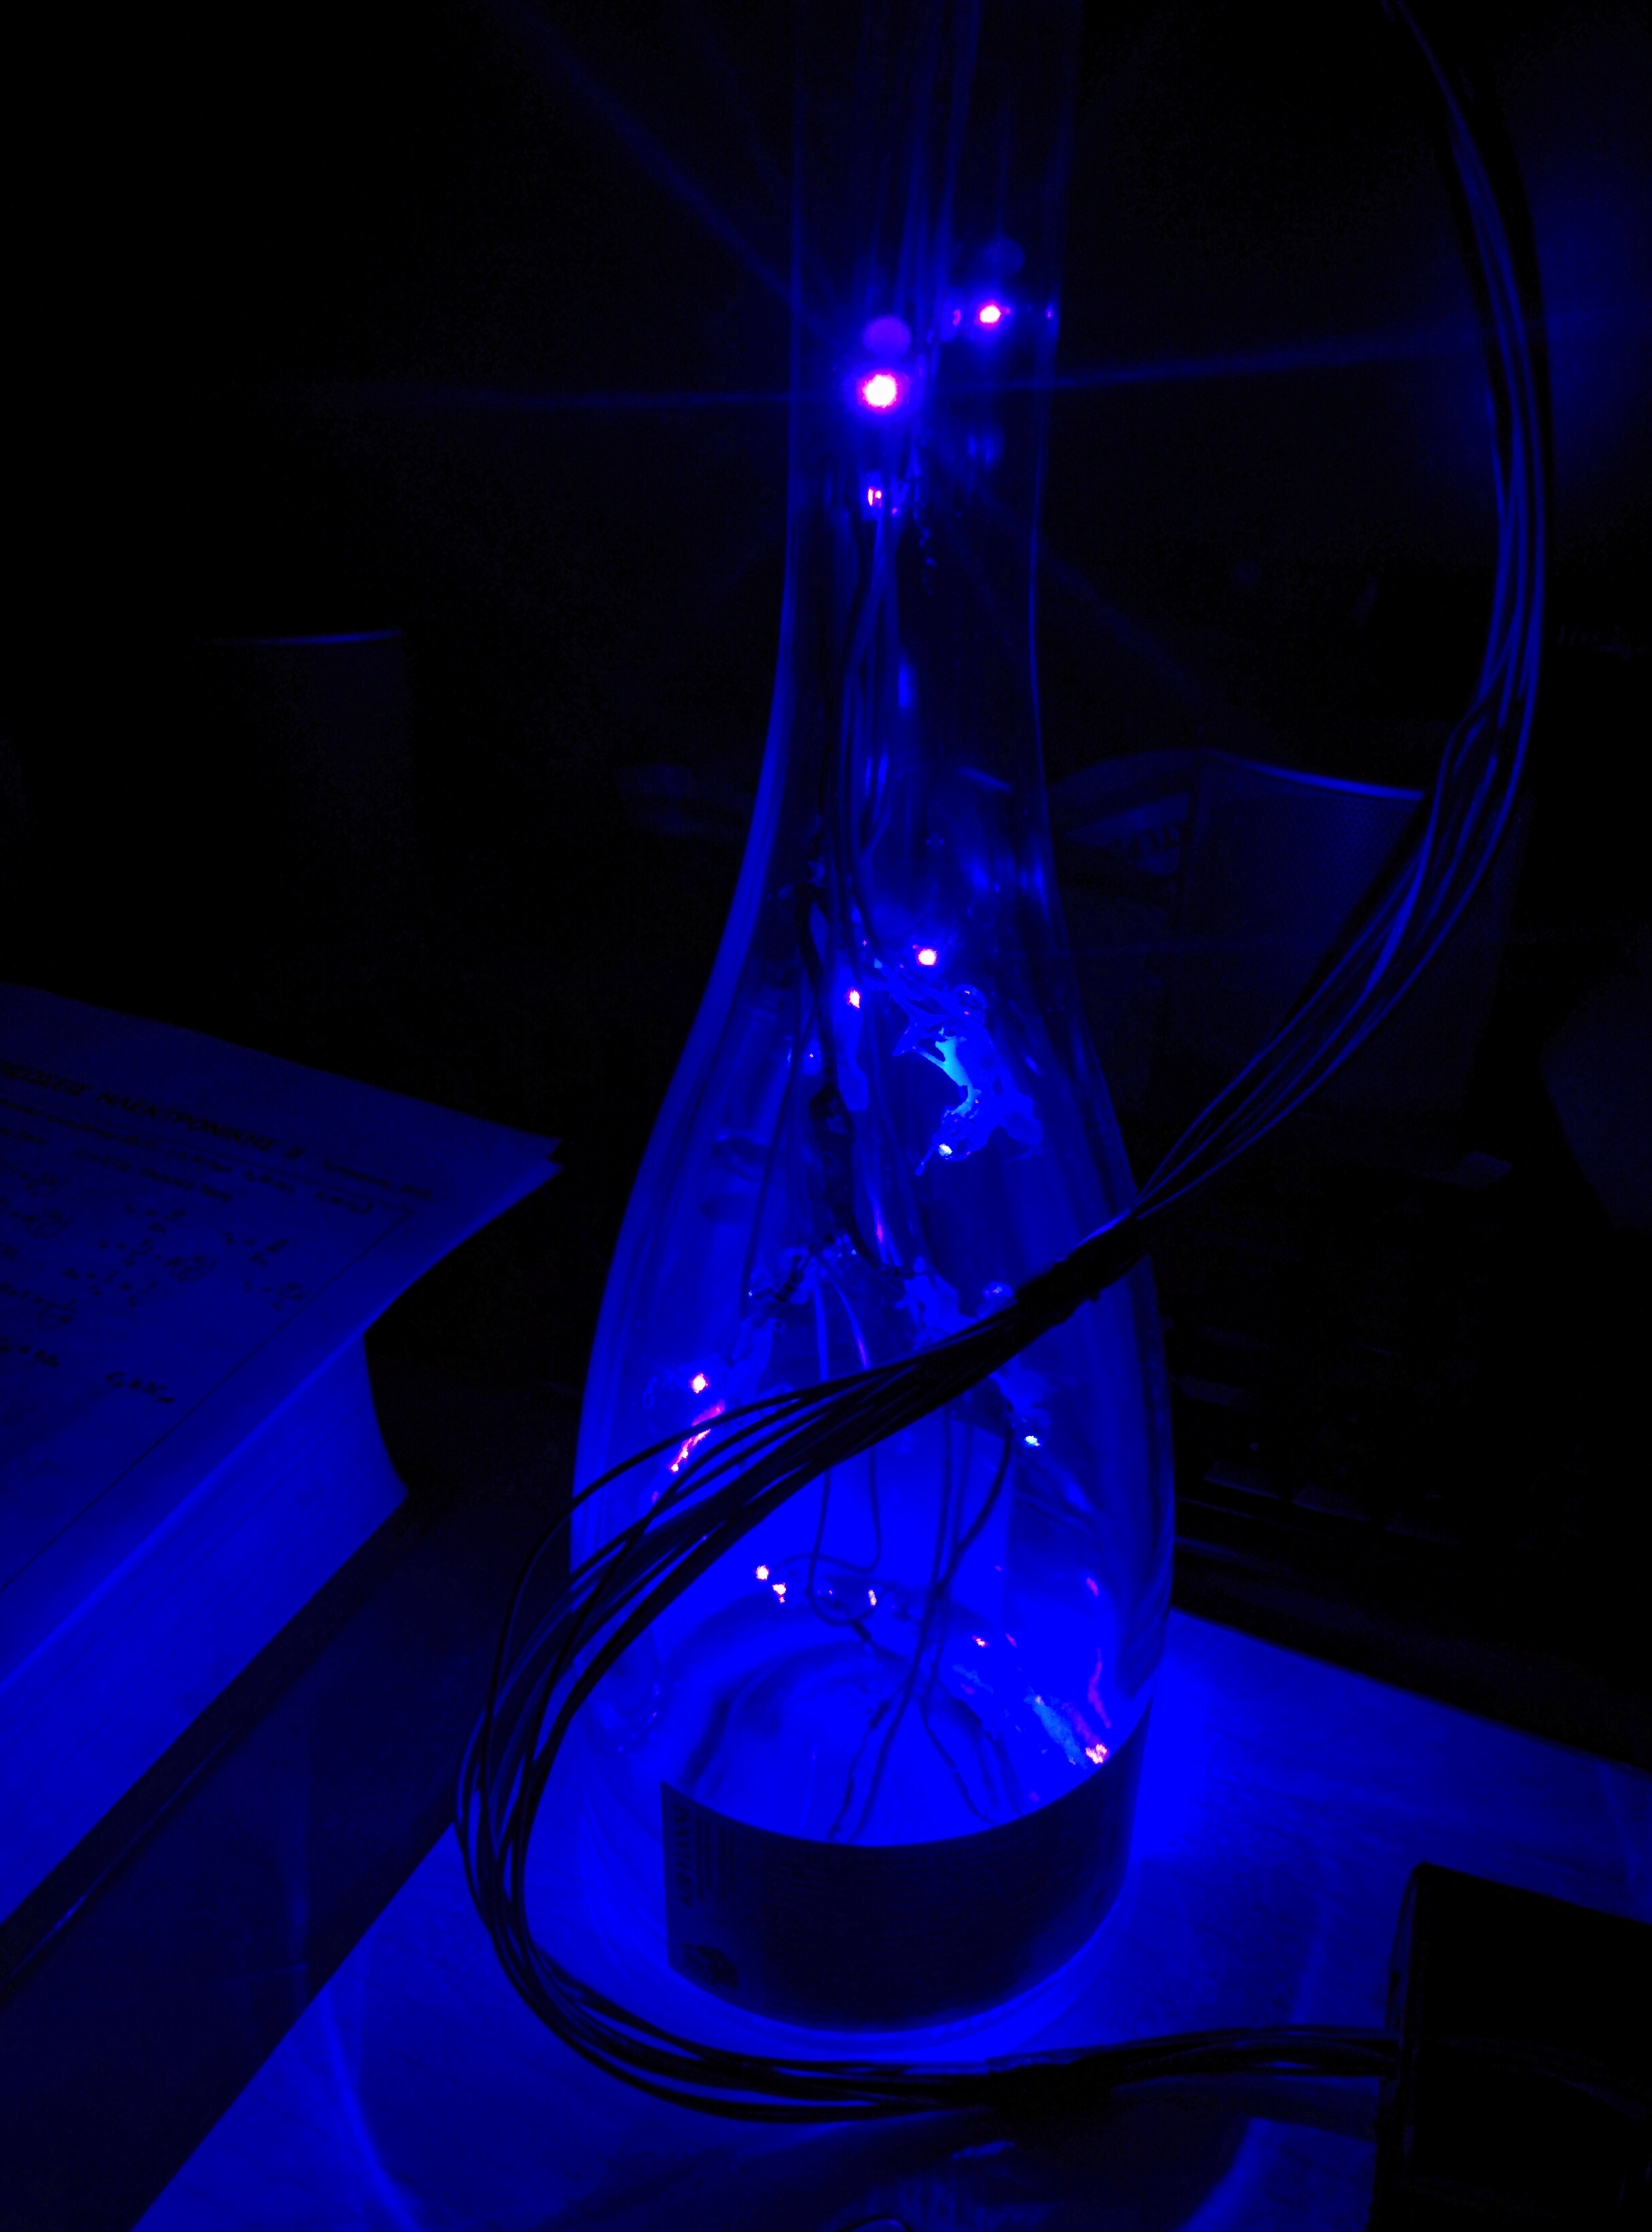
Akakies lamp
In February, a day or two before my Electronics II exam, I was bored, so I decided to build a lamp using a bottle of Akakies sparkling wine I had lying around and an ATTiny84.
Parts list
- Empty bottle
- ATTiny84
- 5v to 10v DC-DC step up converter
- 30 purple/UV leds
- 10 50Ω resistors
- 2 ULN2803A
- Push button
- USB type A male socket
- PCB
- wires
- wire cutter
- soldering iron
- hot glue gun to isolate the connections (we don’t want things to start touching and short out)
Structure/Architecture
The LEDs are organized in 10 series of 3 LEDs each, connected in parallel. Each series is independently controlled by the microcontroller. Also, those series of LEDs are physically organized in 4 levels. The first (upper) level consists of a single series, the second has 2, the third 3 and the fourth (lower) 4.
The tricky part is to deploy the circuit inside the bottle after soldering it.
Modes
The software currently supports 5 modes that can be interchanged by pressing the button
- Blank (All the LEDs are off)
- Full (All the LEDs are on)
- Waterfall (Tries to give the impression of water falling)
- Party (Tries to give the impression of a fountain/champagne bottle popping)
- Random (It generated 30 random frames and plays them in a loop)
Power requirements
It is designed to draw 500mA @ 5V (max) from a USB port, so that it can be powered from a computer/powerbank/phone charger
Schematic and source code
You can find them in the repository
Photos
This is a photo I took during the software development phase
And the final lamp with the circuit enclosed in the black box with the button